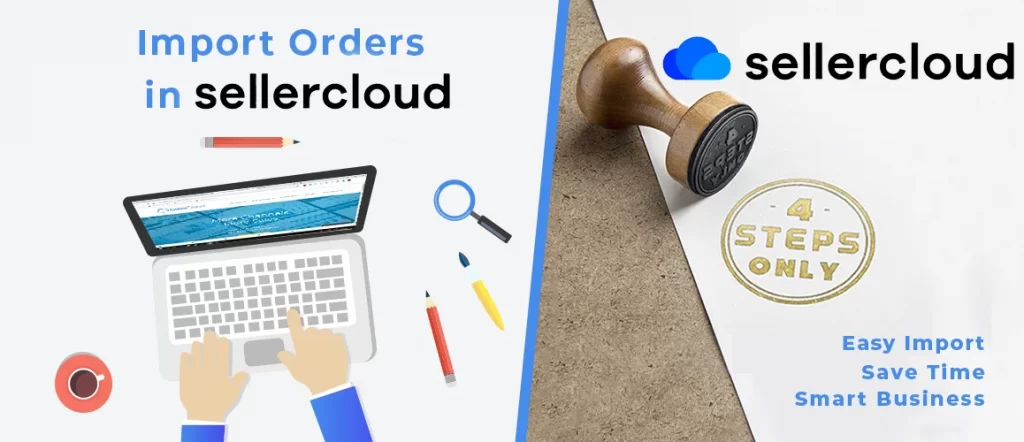
Want to Import Orders in SellerCloud?
Then take a look here! Because here you will get easy 4 steps procedure on How to import orders in SellerCloud. Hope this tutorial will help you to make your e-commerce business comparatively easier and more effortless. First, let’s know What is SellerCloud!
Sellercloud is a Multi-channel E-commerce Platform. By using Sellercloud, we can fully automate Orders on all Marketplaces! Besides that, we can automate Inventory Management, Shipping Management, and Listings Management on all the Channels and Marketplaces. We seamlessly integrate more than 50 Sales Channels, so we Reach More Customers and Generate More Sales. Orders can be imported automatically from marketplaces as well as from many channels. Each channel is a little bit different and requires its own tactics to order importing. We can import orders from marketplaces that are not integrated automatically with SellerCloud.
Why we import orders in SellerCloud?
We can import thousands of orders at a time from multiple channels using import order via this super multi-channel e-commerce platform. Most importantly, it’s all over user-friendly. The interface makes it easy for the user to input the order data by CSV or excel file. Moreover, it reduces our workloads as well as reduce man-made hazard during input the order information. Therefore, It helps us to saves our time. Now we are showing how to import orders manually in SellerCloud.
Import Orders Manually:
Step 1:
At first, we have to Export Orders File from the channel that we want to import in SellerCloud. As a sample, we will show you how to import orders file from Woot marketplace.
Go to the Woot dropship portal. Click on the View Orders. Here, we can see all the order details. Then click on the Download Icon. From the dropdown list, click on Download CSV. Then our orders file will be downloaded.
Step 2:
After exporting orders file we will see all the required information about each order. For the shipment, orders file will have the following information:
- Order ID – This ID will import as a SellerCloud order ID.
- Order Date
- Customer Name
- Address
- City
- PostalCode
- Country
- Phone
- SKU
- Quantity
- Ship Method
- Ship Date
- Cost
- etc.
For the better understanding see attached sample file. It’s a Woot marketplace orders sample file.
Step 3:
After exporting the orders file, we have to go to the SellerCloud Dashboard for import the orders file.
Step 4:
We have to select a company from the Company drop-down menu. Then select a channel from the Channel drop-down menu. Select the orders file that we want to import. Finally, click on the Process Order button for import orders file in SellerCloud.
We have successfully completed importing our orders file in SellerCloud. Now we can easily handle our orders via this amazing multi-channel e-commerce platform. Most importantly, it gives us many opportunities to manage our e-commerce business easily and efficiently.
We will be coming soon with more most effective articles. Please keep reading our Blog.
Thank you.